Showing posts with label DIY. Show all posts

Monday, January 16, 2012

DIY// dream catcher inspired wreath


Our front door was both boring plain during this past holiday season- I made no effort to put up a Christmas wreath. I don't even have a door mat. When we first moved into our home a few months ago, I had all these ideas of decor grandeur! But then came necessary home improvements, then the holidays...and birthdays. soon I totally forgot about making our house a home. But with the new year I have decided to fluff my DIY feathers and start some much needed home decor projects! What better place to start than the front door? The inspiration for this wreath comes from the Family Chic blog and Camilla's Snowflake Catcher Wreath. Her blog has the 'tutorial' for the wreath, though by just looking at the photos- I think you can get a pretty good idea of what I did...


Using yarn from my stash in coordinating colors of green and blue, I wrapped a 24'' Grapevine wreath, crisscrossing and clustering the yarn in places till I achieved the desired look. Be sure to use two yarns of varying texture to add a little something special, and cheapo yarn is perfect! Don't bother spending too much on this project- DIY is suppose to save you money after all ;) Here is a list of the yarns I used, to give you an idea of what your looking for in your local craft store (as the yarn options can get overwhelming!)

* turquoise yarn: Worsted Red Heart Super Saver TURQUA
* mustard green yarn: Vanna's Choice Pea Green
* olive green yarn: Lion Brand Yarn Homespun in Olive 
* teal yarn: Red Heart Boutique Fur Sure in Teal

After wrapping the wreath, I attached the large doily (which I found in a craft store for $9) to the back of the wreath. I just stuck the back branches into the eyelet holes of the edging, and hot glued them into place. Flipping it over, I added another layer of interest by hot gluing green dried bur evenly around the wreath. You can find these in the floral section of your local craft store as well.

TA-DA!

One dream catcher inspired door wreath! Feel free to leave a few strands of yarn hanging low and attached feathers to them for a real dream catcher effect. I personally didn't want to go too Boho, but i'm sure others would love that look. And this wreath would look great against a door of color, as you see the doily kind of blends into my white door- but now I want to paint my front door a neat olive green! I'll save that for another post ;)

Well I hope i've inspired a few of you to make your own door wreath for the new year!

xo
Amanda


Tuesday, December 20, 2011

Gathering Around The Advent Wreath


Last Sunday our family lit the fourth candle on our advent wreath this Christmas season. It was such a beautiful *exhale* moment as we stared into the four little flickering flames, taking in what this moment means. Christmas is truly around the corner, and the to-do list has been thrown to the side with the lighting of this last candle. No I didn't get to tackle all the DIY decor projects I wanted to, but the current decor will do. I wasn't able to knit all the gifts I had planned, but online shopping will suffice. I haven't found the perfect nativity scene yet,but there is always next year. 


Instead of feeling stressed or even failure over my unchecked to-do list, I'm happy and content with what I did manage to accomplish...decorating the tree with family, the handsome month long scarf I knitted for my Dad, sharing hot cocoa with my girls, making ornaments with Evelyn, and many evenings shared just cuddling with the hubby while the girls run and dance around us.


With more family coming into town tomorrow, i'm looking forward to many more of these simple yet cherished moments with those I love. The smell of fresh balsam wreaths and mulled cider in the air...my mother in law's laugh, the squeals of delight from the girls as they play with their Grandpa...lots of goat cheese,smoked salmon and prosciutto! This next week will be a wonderful & leisurely, full of memories and I wish the same to your family!

xo
Amanda

Sunday, December 11, 2011

Free Christmas Decor// this is how i DIY

This year is the first year I will be 'hosting' Christmas- the In-Laws will be coming into town and I am more than excited to share my home! Quality family time gathered around the tree, comfort food in our bellies and enjoying the simple pleasures the holiday season brings. 

Unfortunately, with this being my first year hosting Christmas, I have little to no Christmas decor :/ At the young age of 21, I've never held 'Christmas decorations' at the top of my priority lists previous seasons as I'm the one usually flying home! But this year i MUST decorate- it would be a very lame Christmas for everyone otherwise. So in an attempt to be frugal, I've decided to go the DIY route, but not the "spend $100 at JoAnns and come home to craft" way; I'm only going to use supplies I have around the house. At least, try.

So here are the first little projects I've tackled: a humble centerpiece and a glittering garland


The garland you see in the background of this picture was easy peasy to make- I simply cut cream wool felt 
into varying circular sizes, dipped them in glitter ( no need for glue, the texture of wool grabs the glitter well) and sewed them together with thread. Nailing the garland to the wall with a couple faux pink poinsettias added a nice Christmas touch :)

Here is the chicken wire tree tutorial I used to make these uber-simple centerpiece trees- and yes, I has chicken wire randomly laying around my house...

My favorite touch to the humble centerpiece are the bowls of glittered yarn balls! I love the simplicity of round Christmas tree ornaments in bowls, but I have a lack of ornaments,yet a plethora of yarn. So I decided to wind some white and grey yarn into balls, sprinkled fine glitter over them, and pile them into some 'thrift store' bowls I had.

Well I hope I've inspired y'all to pinch your pennies and get creative :)

xo
Amanda


Wednesday, June 22, 2011

Jill of all Trades

I like to think of myself as a pretty crafty person, but there are lots of craft mediums that i have never tried before! so here are the inspirations that have me itching to branch out and try new things.

i want to make...


a quilt!
I don't have a sewing machine so i would have to hand sew everything...seems daunting. I'll be visiting Mimi next month and you know she has one! so maybe we will can make a quilt together,just like the Granny Square blanket we've been making together :) oh how i love mother daughter projects...


an embroidery sampler!
This project looks a little advances for a newbie, but it is absolutely :gorgeous: I'm sure I could do if I took the time to practice the stitches used


Aren't these felted matryoshka nesting dolls just ADORABLE?! I've never felted anything before, so this looks like the perfect project to push me to try it. And to try out my embroidery skills i will gain from the above sampler ;) I'm thinking of making these for Flora's first birthday present. WOW. She's going to be one soon! 

Well on that note, i'm off to hold my baby,while she's still a baby.


Monday, June 20, 2011

Rascally Raccoons


Aren't they adorable?! Allow me to shamelessly admit that I made them myself...from a kit... from an 8 year+ American Girl Craft kit
-_-
ok. maybe not 'shamelessly'
BUT! Aren't they adorable?!
I was at JoAnn's the other day picking up some supplies when I came across this cute little 'sew & stuff' kit. As soon as I saw it, I knew that Evelyn and Flora would love these, and that they would look darn cute on their bookshelf. So with a 50% coupon in hand and an "it's for my daughters!" excuse, i ran giggling from the store in excitement to get home and start sewing up my raccoons!


After receiving some chuckles and "You're so cute"s from my hubby, i got to work with little Evelyn at my side oooohhhhing and ahhhhing over the little perforated felt pieces. In no time at all I had these little guys sewn and stuff- and i think it was a fun little project! ...even if it was meant for 8 year olds.


 baby Flora walking away from her drool victim


precious Evelyn giving the 'mama waoon" a big hug

They are kinda on the fragile side, so i'm just keeping them up on the bookshelf as decor...and the occasional love hug.


Monday, June 6, 2011

DIY Earring Holder

In a previous post I promised a DIY post on the earring holder i made for my craft fair table, so here it is my friends!


  1. I used a 5x7 frame i had hanging around my house, and painted it with $.89 Apple Barrel acrylic paint in the the shade Caribbean.
  2. Purchase some floral netting from the floral section in your local craft store- my case, JoAnn's. Chicken wire would work, but since i was already at JoAnn's getting the paint, i didn't feel like driving to Lowe's. Cut the wire to fit snug inside the frame in place of the glass.
  3. Spray paint the wire gold- I used Krylon 18K Gold Plate Spray Paint.
  4. Once everything is dry, tuck the wire into the frame and stuff crumpled hot pink tissue paper behind it. This helps keep the wire in place and adds great color/dimension/texture. Now just close the back of the frame and VOILA!

This holder worked wonderfully! There were some strong gust of winds at the fair, and it knocked the frame over once- but none of the earrings fell off! No glue,screws,etc needed- a very easy project that packs in aesthetic punch =D

SHOP ANNOUNCEMENT

New Etsy Listings!


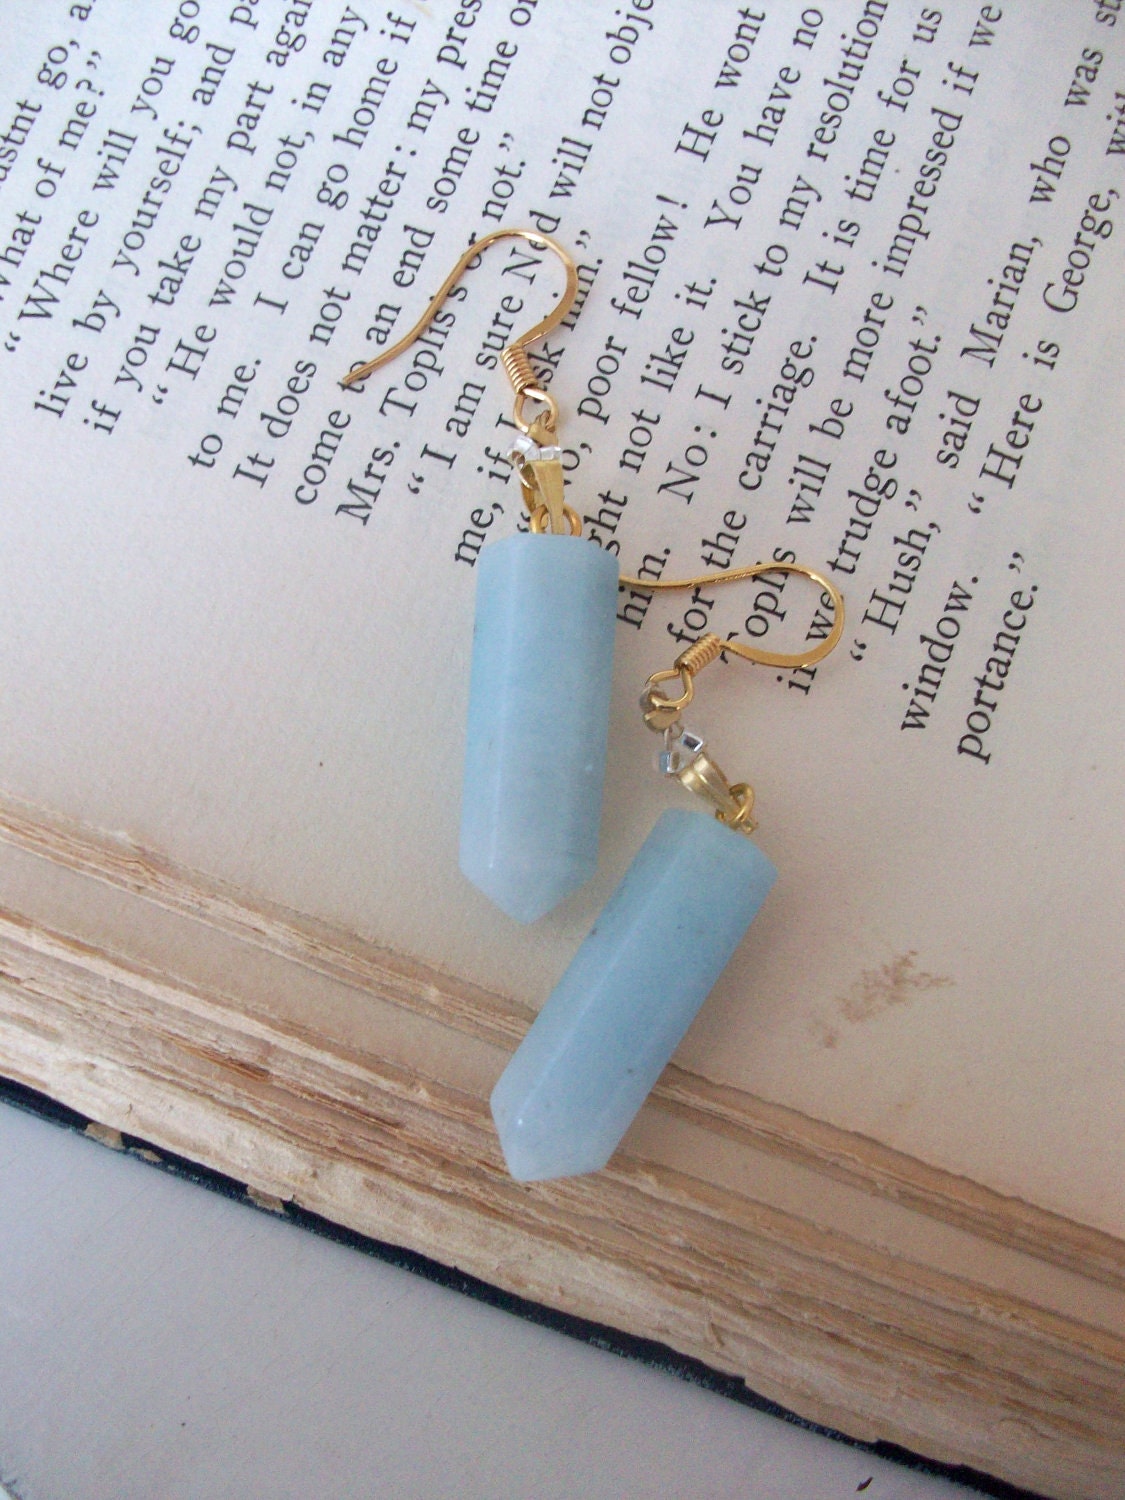
Tuesday is the last day to enter the Folklure Giveaway featuring my 'Blue Quartz Point Earrings' on the Flex Family Arts blog!


Tuesday, May 31, 2011

DIY Jewelry Stand

Goooooooood Morning! 
I hope everyone had a wonderful Memorial Day :) Our family had a great time, full of arts&crafts,face painting, watermelon and sun.

Today i am going to share an easy DIY project, a jewelry stand that not only costs little to nothing, but adds a punch of whimsy in displaying necklaces.


i made this jewelry stand to display my necklaces at craft fairs, and am thrilled by the outcome!
  • The first thing i did was purchase the blue glass bottle from World Market- Its original use is to hold oil in the kitchen, but i found the blue glass,shape and height perfect to hold a branch for this project. the bottle was $5.99
  • Then i went out a found this broken branch off a nearby bush around my apartment complex. Look for one the will fit in the bottle opening and one that has nice sturdy and long branches with many offshoots. remove any greenery.
  • using a $.89 bottle of gold acrylic paint, i  brushed on the gold to give a gilded, shimmering effect. I didn't want to totally remove the 'natural' look of the wood to a slight brushing is fine, just to catch the sunlight and draw the eyes.


Once dry, just pop the branch in the bottle, drape your necklaces, and VOILA! 

I saw a lot of jewelry stand DIYs that would glue the branch to wooden block instead of using a bottle, but personally i prefer the height a bottle lends (for longer necklaces) and it is much simpler then drilling and buying gorilla glue...

feel free to add sand/rocks/etc.. to the bottle to give it some weight if you plan on using this for your craft fair table- a strong gust of wind might knock it down otherwise.

SHOP ANNOUNCEMENTS:

NEW LISTING!

The Maegen

GIVEAWAY!

Blue Quartz Point Earrings

The Flex Family Arts blog is sponsoring a Folklure Giveaway featuring these 'Blue Quartz Point Earrings'
Be sure to stop by their blog to enter! The giveaway ends next Tuesday


Friday, July 2, 2010

Flora's Crib Mobile

The Simply Shabby Chic crib bedding we are getting Flora doesn't come with a matching mobile, so i took it upon myself to make one for our little baby girl :) I really wanted a musical mobile that turned when wound up, to help lull her to sleep, so i was a little disapointed when i realized i would have to make my own mobile if i wanted it to match her nursery decor. Then i had a wonderful idea! I purchased a used mobile from a nearby children's cosignment store and decided to use the base but add my own 'touches.'
This is the mobile i found at the Children's Orchard, usually sold at $39.99 i acquired it for only $9.99. Good thing since i hacked it up!

The first thing i did was cut the pink sleeve off the arm. I purchased half a yard of a white faux silk from Joanns ($2.50) and wrapped it around the arm, tucking and adding little stiches here and there to keep it in place.
 Then to cover the 'little princess' crown sticker on the wind up, i added a layer of white acrylic paint i had laying around the house. Joann's had some '3D' metallic like stickers on clearance for $1.97 which said 'Sweet Baby' so i grabbed those to decorate with so it wouldn't be plain white.
Now i cut off the crown but left the little ribbons hanging to connect my own 'crown.' I found a floral headpiece at the Children's Orchard that was intended for dress up at only $2.99. This i hot glued to the pre existing ribbons.
I purchased a spool of thin pink ribbon that would match the preexisting ribbon on the mobile. To this ribbon i hot glued a big white rose head (i had 6 left over from a previous project, and make sure you glue petals down for the baby!), threaded a glass bead (a big bag for $3.99), made a knot towards the center of the ribbon and added another bead then hot glued that ribbon onto the headpiece. I made 6 of these.
The original mobile cam with little pink,lace covered hearts that i thought were cute so i added one to the center of the mobile. I just added a bead to the ribbon hanging from the mobile and tied the ribbon of the soft heart to it.
and VOILA! i was done :)
So i only spent $25 to make this lovely, perfectly shabby chic mobile that both matches Flora's nursery and plays a soothing lullaby. That's half of what crib mobiles usually goes for! Hooray for being thrifty and crafty ;)